
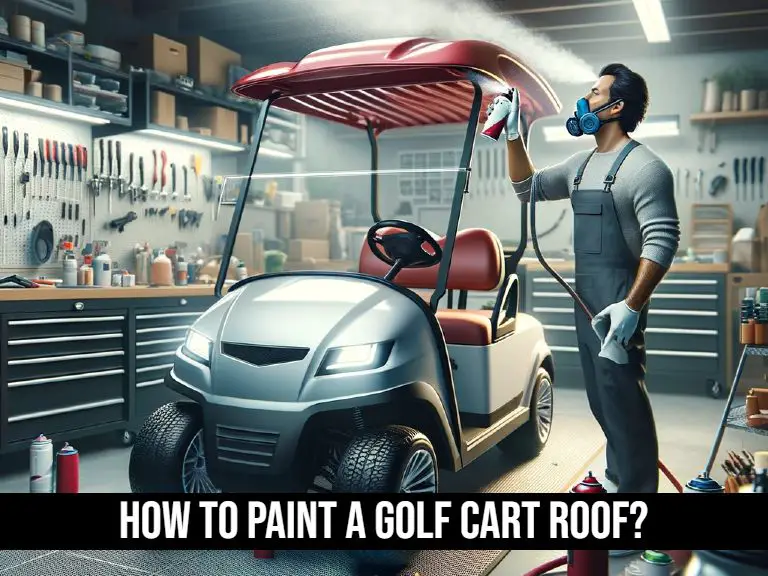
Revamping your golf cart’s roof with a fresh coat of paint might seem daunting. How do you tackle this task without ending up with a patchy, unprofessional finish?
Many golf cart owners face this challenge, seeking a sleek, durable result that withstands the elements and turns heads on the course.
Understanding the nuances of painting a surface that’s quite different from typical home DIY projects is key.
Choosing the right type of paint that adheres to the plastic or fiberglass roof, and applying it evenly without leaving streaks or bubbles, at each step is crucial.
This introduction is your gateway to transforming your golf cart roof from faded or scratched to stunning, with practical tips and expert advice.
Let’s embark on this journey to elevate your golf cart’s aesthetic, ensuring it not only looks great but also reflects your personal style.
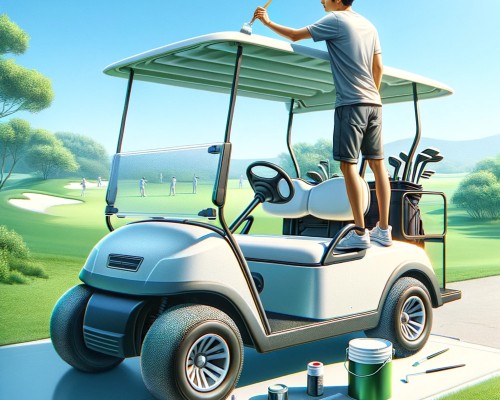
Preparation Steps for Painting Your Golf Cart Roof
Before you embark on the journey of giving your golf cart roof a fresh coat of paint, it’s crucial to lay the groundwork with meticulous preparation.
This section will guide you through choosing the right location and setup, as well as listing the essential supplies needed to ensure a smooth and successful painting job.
1. Choosing the Right Location and Setup
1. Ventilation is Key
Choose a well-ventilated area to protect yourself from fumes and ensure the paint dries evenly. An open garage or a shaded outdoor space can be ideal.
2. Wind and Dust
Ensure the area is protected from wind and excessive dust which can ruin a fresh paint job.
3. Space for Drying
Make sure there’s enough space not just for painting but also for leaving the roof to dry without disturbance.
4. Protective Coverings
Lay down tarps or drop cloths to protect the surrounding area from paint splatters.
5. Stable Platform
Have a stable, clean table or set of sawhorses to place the golf cart roof on while painting.
2. Essential Supplies for a Smooth Painting Job
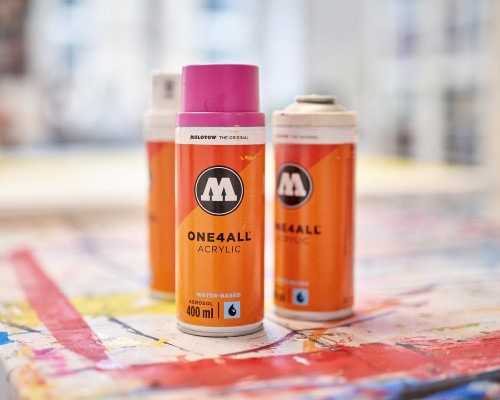
1. Paint and Primer
Choose a high-quality acrylic spray paint and primer suitable for the material of your golf cart roof. The primer is essential for paint adhesion and longevity.
2. Sandpaper
Use coarse and fine-grit sandpaper to smooth out any rough spots and ensure the paint adheres well.
3. Cleaning Supplies
Prepare soapy water, a hose, and clean rags for washing and drying the roof before painting.
4. Tape and Coverings
Use painter’s tape to cover any areas you don’t want to be painted, such as the edges or fixtures.

5. Tools for Removal
Keep screwdrivers and wrenches handy for removing the roof and any fixtures or accessories.
While you’re focused on the roof, don’t forget that a clear view is just as important for your ride.
Once you’ve got the roof looking pristine, consider giving the same level of care to your windshield.
For tips on keeping it spotless, check out our guide on how to clean your golf cart’s windshield. This step ensures that your golf cart not only looks good but is also safe to drive.
Detailed Guide to Removing and Prepping the Golf Cart Roof
1. Step-by-Step Removal Of the Golf Cart Roof
1. Disconnect Power
For electric golf carts, ensure that the power is off and all connections to the battery are disconnected to avoid any electrical hazards.
2. Locate Fasteners
Identify all the fasteners, bolts, or screws that secure the roof to the frame. This might vary depending on the make and model of your golf cart.
3. Unscrew and Lift
Using the appropriate tools, carefully unscrew or unbolt the fasteners. It’s advisable to have a helper to hold the roof as it becomes loose to prevent it from falling.
4. Gently Remove the Roof
Once all fasteners are removed, gently lift the roof off the golf cart. Place it on a set of sawhorses or a clean, padded surface to prevent damage.
2. Cleaning and Sanding Techniques for Better Adhesion
1. Dust and Debris Removal
Start by removing any dust, leaves, or debris from the roof using a soft brush or cloth.
2. Washing
Use a mild detergent and warm water to thoroughly wash the surface. A sponge or soft cloth can help remove any dirt or grime.
3. Rinsing
Rinse the roof with clean water to remove any soap residue. Ensure it’s completely clean for the paint to adhere properly.
4. Choosing Sandpaper
Use a medium-grit sandpaper (around 120-220 grit) for the initial sanding. This will help create a surface that the primer and paint can adhere to more effectively.
5. Sanding Technique
Sand the entire surface evenly, paying particular attention to any glossy or smooth areas. These are typically the spots where paint has a hard time adhering.
6. Cleaning After Sanding
Once you’ve finished sanding, use a tack cloth or a slightly damp cloth to remove all the dust created by the sanding process.
Step-by-Step Painting Process for a Golf Cart Roof
1. Taping and Covering
Use painter’s tape to cover any areas of the golf cart that you don’t want to be painted, such as the edges where the roof meets the body of the cart. This helps in achieving clean, straight paint lines.
2. Priming
Apply a coat of primer to the roof. Primer is essential for providing a good base for the paint to adhere to and can also help in achieving a more uniform color.
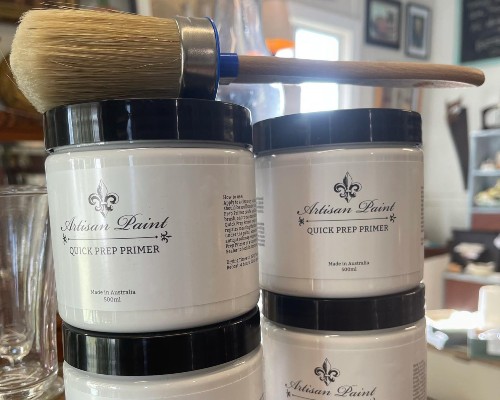
Let the primer dry as per the manufacturer’s instructions.
3. Painting
- Choose a suitable paint for the roof. Acrylic spray paint is often recommended for its durability and ease of application.
- Make sure the paint is appropriate for outdoor use and compatible with the material of your golf cart roof.
- Apply the paint in thin, even coats. It’s better to apply multiple thin coats than one thick coat to avoid drips and runs.
- Allow each coat to dry before applying the next. The number of coats will depend on the paint used and the desired opacity.
4. Drying and Curing
After the final coat, allow the paint to dry completely. This may take several hours to a full day, depending on the paint and environmental conditions.
It is important to let the paint cure for a few days before using the golf cart.
This ensures the durability of the paint job and prevents it from peeling or chipping easily.
5. Reinstallation and Finishing Touches
Once the paint is fully dried and cured, carefully remove the painter’s tape. If any touch-ups are needed, use a small brush or a touch-up pen with matching paint.
Reinstall the roof onto the golf cart, ensuring all screws and fastenings are securely in place.
Final Thoughts!
Painting a golf cart roof is not just about enhancing its aesthetic appeal; it’s also an opportunity to protect and extend the life of your vehicle.
This DIY project, while seemingly straightforward, requires attention to detail, from surface preparation to the final curing of the paint.
By following the outlined steps, including proper cleaning, sanding, priming, and applying multiple thin layers of suitable paint, you can achieve a professional-looking finish.
The key to success lies in meticulous preparation and patience during the drying and curing phases.
Ultimately, this process not only revitalizes the appearance of your golf cart but also adds a layer of protection against the elements, ensuring a longer lifespan for your cart’s roof.
FAQs
Can You Paint A Golf Cart Roof With A Paintbrush?
Painting a golf cart roof with a paintbrush is technically possible, but it’s not the recommended method.
Using a brush can lead to uneven coverage, visible brush strokes, and a less durable finish.
Spray painting is generally preferred for its ability to provide a smooth, even coat and a more professional appearance.
Additionally, spray paint typically adheres better to the roof’s surface and is more resistant to peeling and fading.
For the best results, it’s advisable to use spray paint for this type of project.

Eliza Mercer, the renowned golf coach with unmatched expertise in the sport, is our Lead Instruction Coach. Eliza provides exclusive and personalized coaching sessions to help golfers of all levels improve their skills. With her wealth of knowledge and experience, Eliza is a valuable resource for readers looking to elevate their game. Join Our Team!