
You drop a pair of glasses under the living room couch, pause for half a second, and calculate the exit strategy before your knees ever touch the rug.
That subtle calculation happens silently in millions of homes every day. It is not about laziness, and it is certainly not a sign that you are suddenly old. It is a quiet mechanical shift. The body begins trading full-range joint leverage for safe, predictable upright movements.
After examining biomechanical floor-transfer research and physical therapy protocols for adults over 50, one truth becomes blindingly clear. The ability to push up from the floor unassisted is not a factor of raw strength or intense gym conditioning. It comes down to four trainable movement patterns that maintain your leverage, ankle angle, and hip drive.
💡 PRO TIP
The Floor-Rise Reality Check
Losing the ability to get up off the carpet is rarely an age issue. It is a disuse issue. When you stop loading your joints at deep angles, the brain simply forgets how to coordinate the kinetic chain.
The Biomechanics: What Actually Keeps You Stuck?
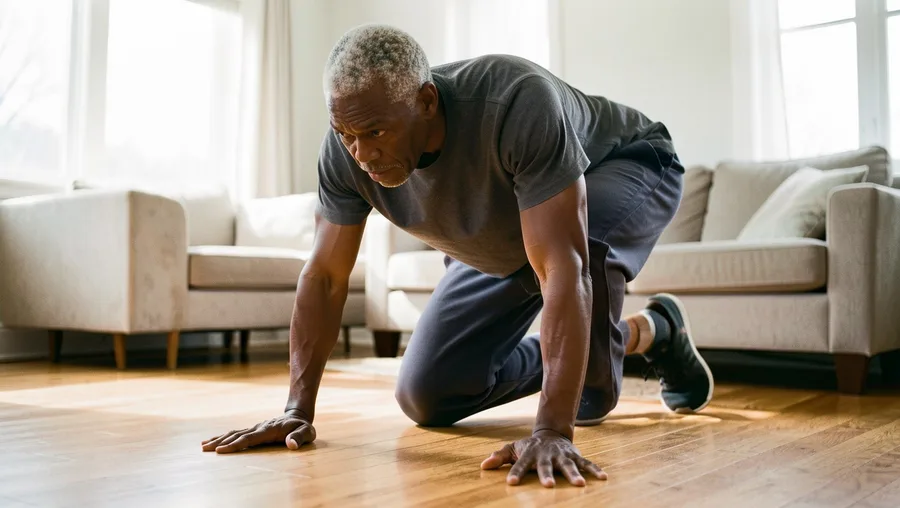
Your body gets stuck on the ground for three specific physical reasons.
First, ankle dorsiflexion degrades over time. If your ankle cannot flex deeply, your heel lifts off the rug during a rise. That shifts your center of gravity forward, blowing out your mechanical advantage and putting immense pressure on your kneecaps.
Second, hip flexors lock up and glutes disengage. Rising from a floor transition requires a powerful hip extension from a compressed position. Without that glute drive, your lower back takes the entire load.
Third, spinal rotational stiffness prevents you from spiraling up smoothly. Humans rarely rise in a straight vertical line; we roll, plant, and pivot. Restoring usable ground mobility means training active strength through these exact natural angles.
1. The Half-Kneeling Dynamic Hinge
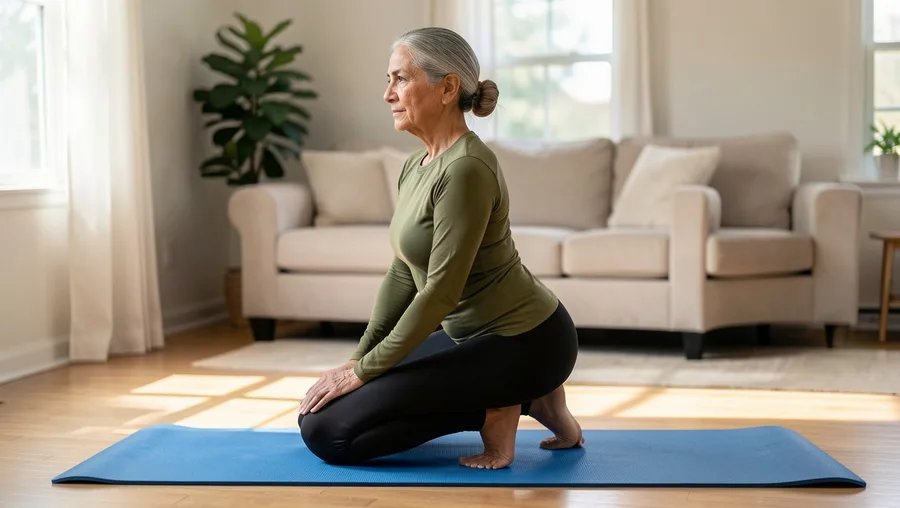
You reach for something on the floor, and your leg instantly demands a resting surface.
This movement rebuilds the single-leg drive required to move from a kneeling position up to a high lunged stance. Physical therapists consistently highlight this as the single most critical movement for ground recovery because it bypasses the need to haul your body upright with your arms.
Step into a 90/90 half-kneel with one knee on a carpeted surface and the front foot flat. Tuck your back toes securely into the floor. Instead of leaning forward over your front thigh, drive your front heel down into the floor like you are stepping through the boards while pushing straight up through your glutes.
Perform 2 sets of 5 slow reps per side, three mornings a week. If balance feels shaky, place two fingertips on the back of a heavy sofa for stability.
💡 Tip: Keep your back toes firmly tucked under rather than flat on top of the foot. Tucking the toes engages the plantar fascia and calf, granting you 30% more initial upward force.
Half-Kneeling Hinge — At a Glance
⏱️ Frequency
3 days per week
🎯 Primary Focus
Glute drive & toe drive
📅 Target Results
3–4 weeks
⚠️ Modification
Fingertip sofa support
Key Biomechanical Goal
Eliminates the urge to push off your own knees with your hands during a floor stand.
2. The Quadruped Bear Plank to Squat Rock

Your wrist aches the second your palm presses into the carpet.
Most floor mobility advice skips wrist extension and quad loading altogether. That is a massive oversight. Transitioning from all-fours into a standing foot base requires pressing weight back into deep knee flexion while keeping your core braced.
Start on hands and knees on a comfortable surface. Spread your fingers wide and press through your knuckles to take pressure off the wrist joint. Tuck your toes, elevate your knees just one inch off the mat, and press your hips backward toward your heels without letting your knees touch the ground.
Hold the backward press for two full seconds before rocking back to the start. The quads will burn quickly, which is precisely the adaptation we want.
⚠️ COMMON MISTAKE
Don't Let Knees Flare Outward
When rocking back toward your heels, keep knees tracking directly over your second toe. Allowing knees to flare outward dumps force into the inner hip joint instead of building quad capacity.
3. The Curved Shin-Box Roll
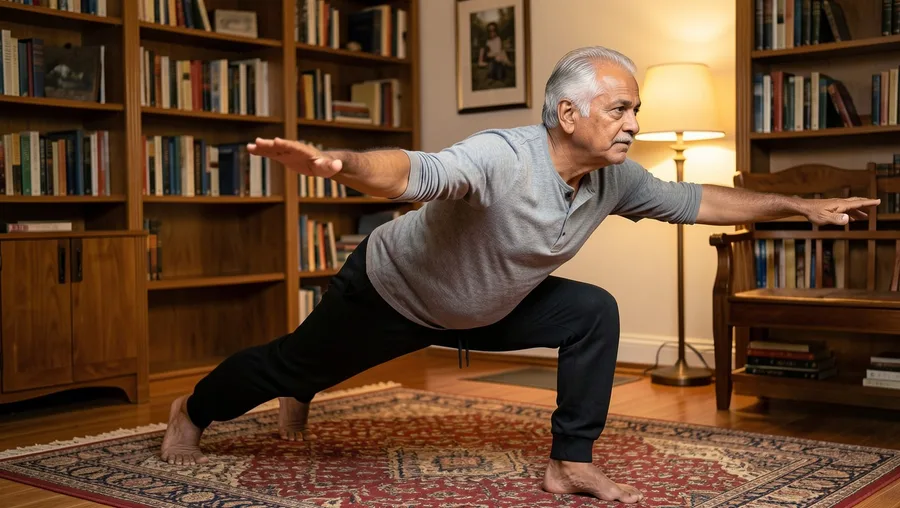
Sitting cross-legged on the floor suddenly feels like an extreme sport.
Tight hips restrict internal and external rotation, forcing you to move like a rigid block. Reclaiming this rotation allows you to pivot sideways when getting up off the floor, which is how our bodies naturally navigate ground transfers in real life.
Sit on the floor with both knees bent at 90-degree angles in a staggered setup (front shin parallel in front, rear leg flared to the side). Press your front shin firmly down into the carpet and drive your hips forward until you lift off the seat into a tall kneeling stance on both shins.
Squeeze your glutes at the top, then slowly lower your hips back down under control. Complete 4 controlled rolls per side.
Best For
4. The Elevated Tripod Stand
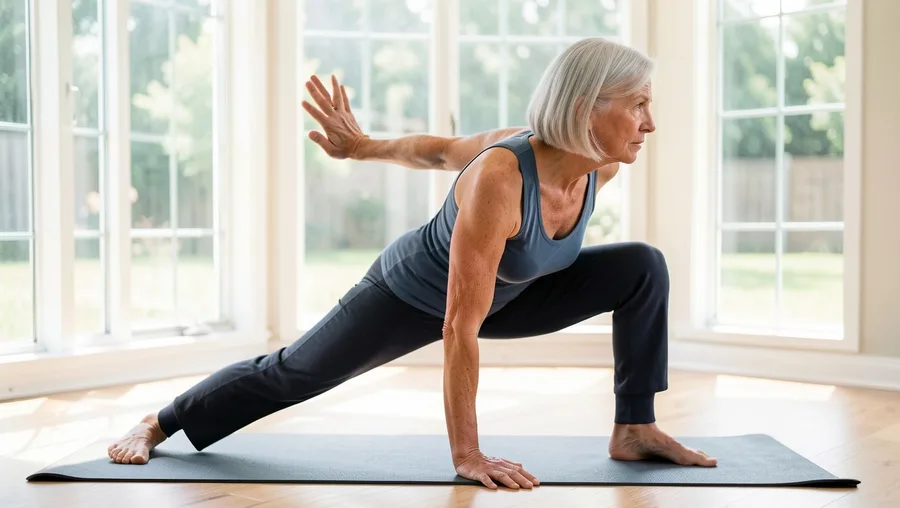
You fall or drop low, and panic sets in because both legs feel trapped underneath.
The elevated tripod stand is the ultimate emergency and non-emergency recovery movement. It teaches cross-body opposition—using your right hand and left foot as a firm, structural base so the rest of your body can swing into place.
Start seated sideways on the carpet. Place your right hand down behind your hip, fingers pointing back. Plant your left foot flat on the floor in front of you. Press firmly through that right hand and left foot simultaneously to lift your hips clean off the ground, sweeping your free leg under your body into a stable lunged base.
This cross-body diagonal leverage takes almost 40% of the strain off your lower spine and knees.
The Tripod Stand Flow
Target Equipment & Setup
Where Movement Science Agrees: Safety, Frequency, and Progression
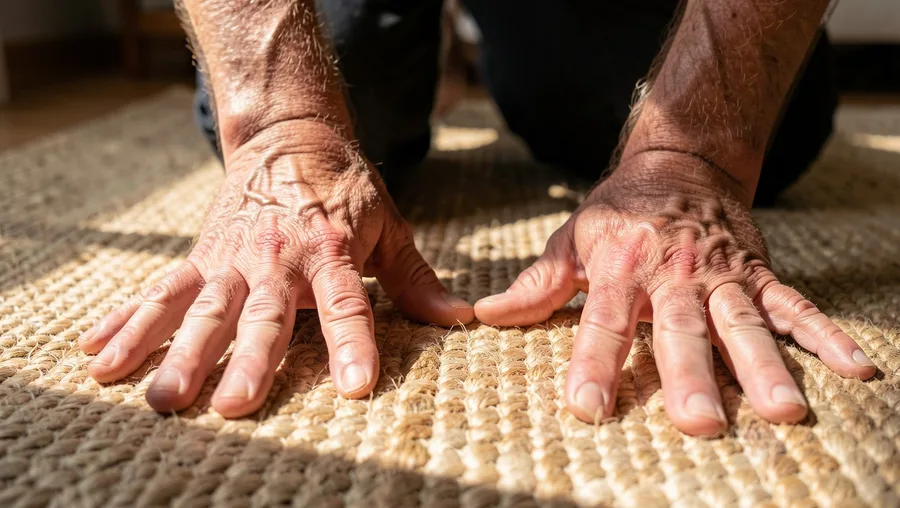
Consistency always beats intensity.
Physical therapists and movement specialists agree that ground mobility is a motor skill, not a cardiovascular workout. Treating these moves as heavy exercise missed the entire point. You are re-educating your nervous system to trust deep joint angles again.
Practice these movements in micro-doses: 3 to 5 minutes total, twice daily. Do a set while waiting for coffee to brew or while watching the evening news.
Always respect red-flag signals. Sharp, pinpoint joint pain or sudden dizziness upon standing means you halt immediately and pause at the half-kneeling stage to let blood pressure stabilize.
📅 4-Week Floor Confidence Progression
Week 1: Assisted Mobility
Perform all 4 moves using sofa arms or yoga blocks for weight assistance.
Week 2: Controlled Descent
Focus on lowering down to the floor slowly without dropping into the carpet.
Week 3: Single-Hand Support
Reduce support to light fingertip contact during half-kneeling and tripod drives.
Week 4: Unassisted Transitions
Execute full floor transfers smoothly using internal momentum and leg power.
7-Day Practice Routine
Self-Check Matrix: Finding Your Starting Point
Never force a movement pattern your body is not ready to control.
Assess your starting point objectively. If your knees complain under pressure, begin on a high mattress or thick foam mat before taking the moves directly to a hardwood floor.
Use the matrix below to match your current feeling with the exact modification required.
Mobility Impact Metrics
Clinical findings behind floor recovery and joint power.
Frequently Asked Questions
Is it safe to practice getting off the floor if I have osteopenia or knee arthritis?
Yes, provided you do not force spinal rounding or direct kneecap compression on hard surfaces. Practice on a high-density yoga mat or folded blanket, and focus on hip-hinge mechanics to load your glutes instead of forcing pressure into knee joints.
What if my wrists hurt when supporting weight on all-fours?
Elevate your hands on yoga blocks, a couch cushion, or drop down to your forearms. You can also make tight fists with neutral wrists on the carpet instead of pressing flat palms into the floor.
How often should I practice these four moves to see real results?
Daily micro-dosing yields the fastest neurological adaptations. Spending just 3 to 5 minutes every evening practicing one or two transitions builds balance confidence far better than one long weekly session.
Can I rebuild unassisted floor recovery if I have relied on chairs for years?
Absolutely. Neuromuscular pathways adapt at any age. Start by building strength in elevated positions—like stepping up from a low bench—and gradually lower your working height over several weeks.
What should I do if I get lightheaded when standing up from the carpet?
Pause deliberately at the half-kneeling phase for 5 to 10 seconds. Take two deep abdominal breaths to allow blood pressure to normalize before completing the final push up to a full standing stance.
Reclaiming Ground Confidence, One Move at a Time
Unassisted floor recovery is not a genetic gift reserved for youth.
It is a mechanical skill built through small, consistent, daily exposures. Pick just one move from this list tonight—start with the Half-Kneeling Dynamic Hinge on a soft rug while watching TV—and practice five slow, deliberate reps per side. Reclaiming ground confidence begins the moment you stop avoiding the floor.

Meet Edward Green, the founder of GolfingGoal and a seasoned expert in golf. With years of experience on the course and a passion for the sport, Edward has a wealth of knowledge to share. As our Lead Writer, he contributes articles, tutorials, and resources to help readers to improve their skills and reach their full potential on the golf course. Join Our Team!