
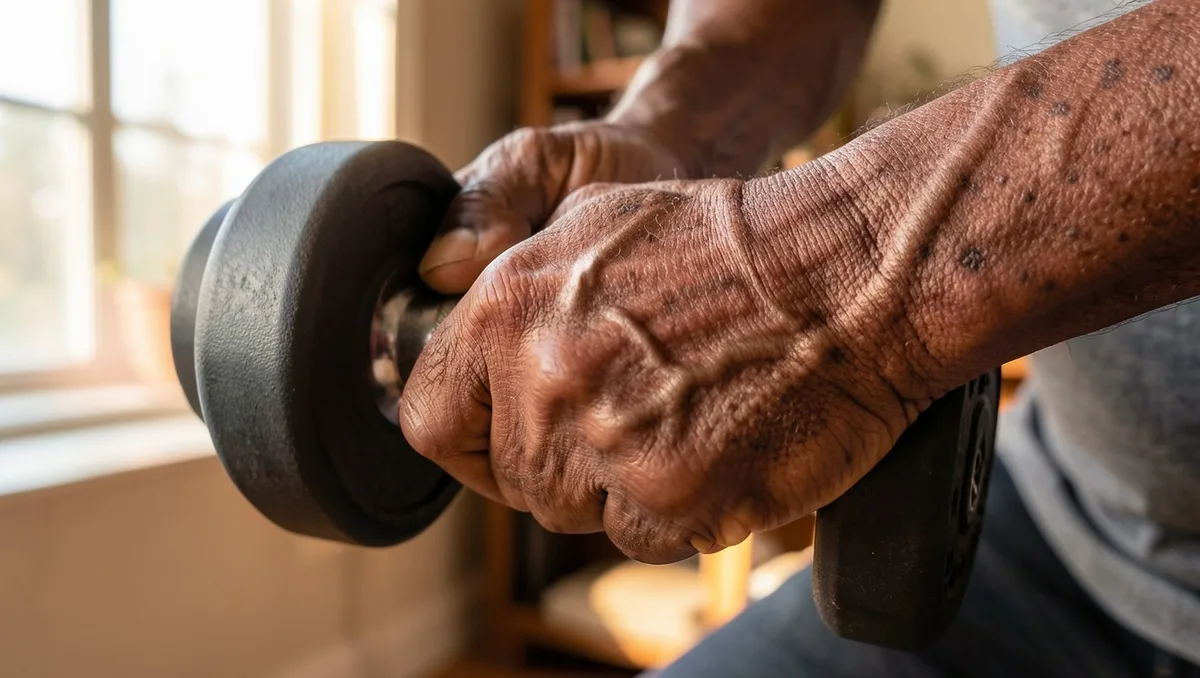
You step off a high curb or try to get up from a deep, plush sofa, and your knees suddenly feel uncertain.
It happens almost overnight in your late fifties or early sixties. The medical advice you usually find online tells you to walk more or take it easy, while social media feeds flood you with high-intensity workouts designed for twenty-somethings.
The real key to long-term physical independence after 60 is not about exhausting cardio or dangerous heavy lifting. It comes down to mastering six specific functional movement patterns that protect your joints and rebuild lost muscle density.
The 6 Functional Patterns: How Your Muscles Protect Your Independence
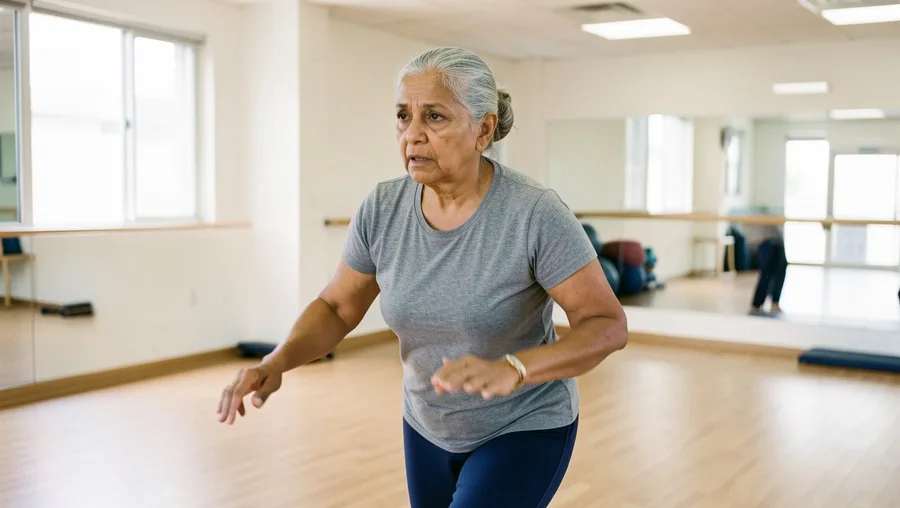
Sarcopenia is quietly working against you.
Starting around age 30, adults lose between 3% to 8% of their muscle mass every decade. Once you cross the threshold of 60, that rate of muscle loss accelerates rapidly unless you actively intervene with targeted physical stress.
Your body does not think in terms of isolated muscle groups like biceps or calves. It operates through integrated movement patterns.
When you train the six foundational movement patterns—squat, hinge, lunge, push, pull, and carry—you stimulate osteoblast activity, which actively lays down new bone tissue. That axial loading builds a natural structural brace around arthritic hips, knees, and shoulders.
1. The Box Squat: Securing Lower-Body Power and Joint Protection
Your knees are rarely the actual root of the problem.
When sitting down or getting up becomes painful, most people instinctively avoid bending their knees. That avoidance weakens the glutes and quadriceps further, sending even more shear force directly into the knee joint the next time you stand up.
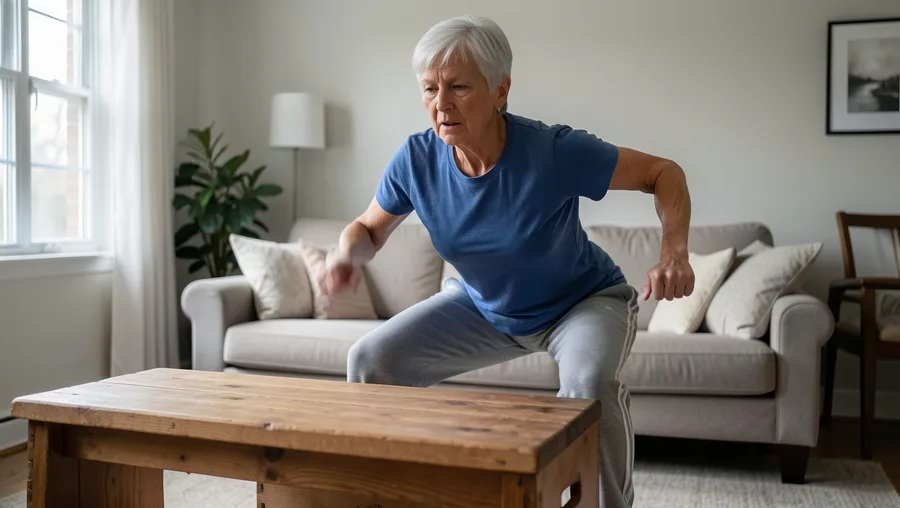
The box squat fixes this pattern by teaching you to drive your hips back first.
By using a standard wooden chair or a workout bench as a tactile target, you eliminate the fear of falling backward. You load the powerful gluteal muscles and hamstrings while keeping your shins relatively vertical, taking the sharp pressure off your patellar tendons.
Start with a standard chair height where your thighs sit parallel to the floor. Lower your body under strict control over three full seconds, tap the seat lightly without releasing your muscle tension, and drive firmly through your mid-foot to stand back up.
💡 Tip: Keep your big toes, pinky toes, and heels firmly glued to the floor throughout the entire movement to prevent your knees from caving inward.
Box Squat Protocol — At a Glance
⏱️ Frequency
2–3 times per week
🔢 Volume
2–3 sets of 8–10 reps
🎯 Primary Target
Quadriceps, Glutes, Core
⚠️ Key Form Cue
Hips back first, shins stay vertical
🪜 Regression
Add a firm cushion to raise seat 2 inches
Why It Matters
Preserves the exact muscular force needed to get out of deep seats independently without hand support.
2. The Romanian Deadlift (RDL): Shielding the Lower Back and Hips
Bending over to pick up a fallen shoe should not feel like playing roulette with your spine.
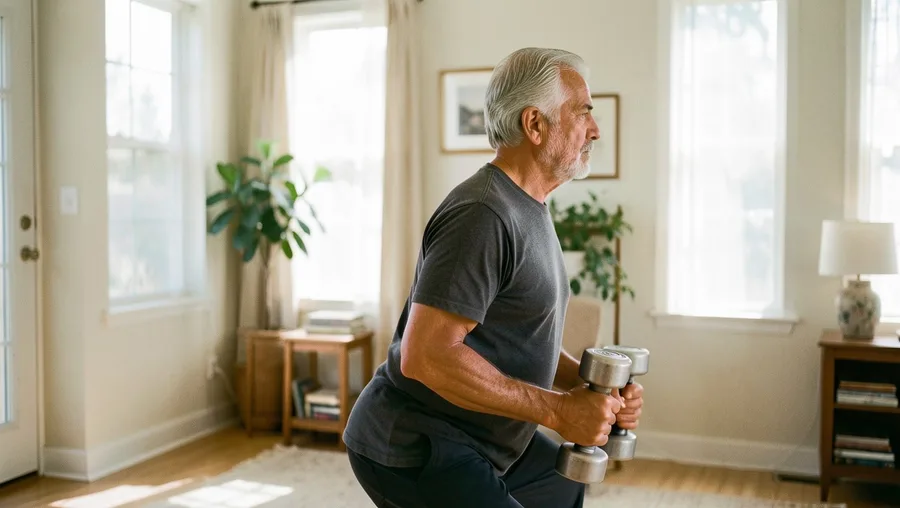
The conventional wisdom of bending purely with your knees often fails when picking up wide or awkward items. You need a functional hip hinge—the ability to fold at the hip joints while preserving a neutral, rigid spine.
The Romanian Deadlift builds a bulletproof posterior chain.
Physical therapists routinely point to weak glutes and hamstrings as the primary drivers of chronic lower back stiffness in older adults. By hinging at the hips with a minimal knee bend, you force the hamstrings and glutes to absorb load instead of straining the lumbar vertebrae.
Hold a light pair of dumbbells close to your thighs, slide your hips directly toward the wall behind you, and lower the weights only until they pass your knees before squeezing your glutes to stand tall.
💡 Tip: Imagine holding a rolled-up newspaper under each armpit to keep your lats engaged and prevent your upper back from rounding.
⚠️ COMMON MISTAKE
Avoid Reaching for the Floor During Hinging
Stopping depth at the shins is perfectly fine. Forcing the dumbbells all the way down to your toes causes your spine to round, transferring weight away from your glutes directly into your lower back discs.
3. The Step-Up: Rebuilding Single-Leg Stability and Fall Resistance
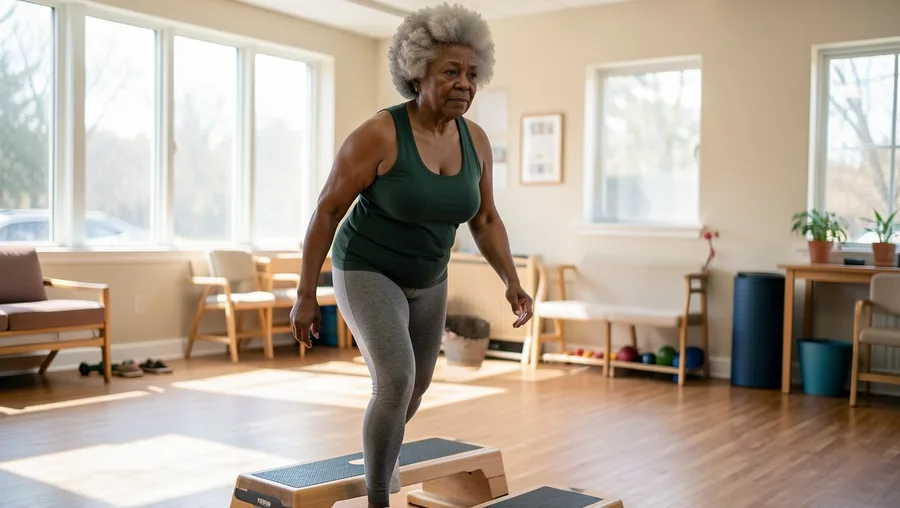
Falls do not happen on two feet.
They happen when you are transitioned onto a single leg—stepping over a curb, walking up a slippery flight of stairs, or changing direction abruptly in the yard.
Single-leg strength is your best insurance policy against accidental loss of balance.
The step-up isolates one leg at a time, specifically recruiting the gluteus medius on the side of your hip. This stabilizer muscle keeps your pelvis level and prevents side-to-side swaying during normal walking.
Select a low step between 4 to 6 inches high. Place your entire foot onto the step, press down through your heel to lift your body weight, and lower yourself down slowly over two seconds without letting your trailing foot launch you off the ground.
💡 Tip: Place your hands gently against a nearby wall or sturdy railing for spatial awareness rather than pushing off with them.
Best For
4. The Incline Push-Up: Shoulder-Safe Chest and Triceps Strength
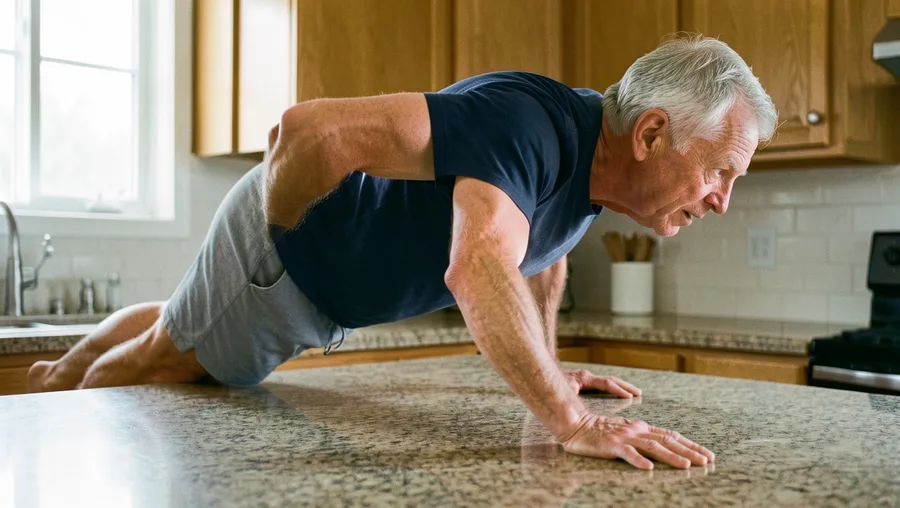
Floor push-ups place excessive stress on aging shoulder joints.
Lying flat forces your shoulders to absorb a massive percentage of your body weight, often straining sensitive rotator cuff tissues or exacerbating impingement issues.
An elevated push-up restores pressing power without joint pain.
By placing your hands on an elevated surface like a sturdy kitchen counter, a workbench, or a secured park bench, you dramatically reduce the gravitational force placed through your arms while retaining total muscle recruitment across your chest, shoulders, and triceps.
Set your hands slightly wider than shoulder-width apart, keep your body in a rigid plank from head to heels, and lower your chest toward the edge by bending your elbows back at a 45-degree angle rather than flaring them straight out to the sides.
Incline Push-Up Setup & Angle Progression
5. The Resistance Band Row: Correcting Posture and Rotator Cuff Health
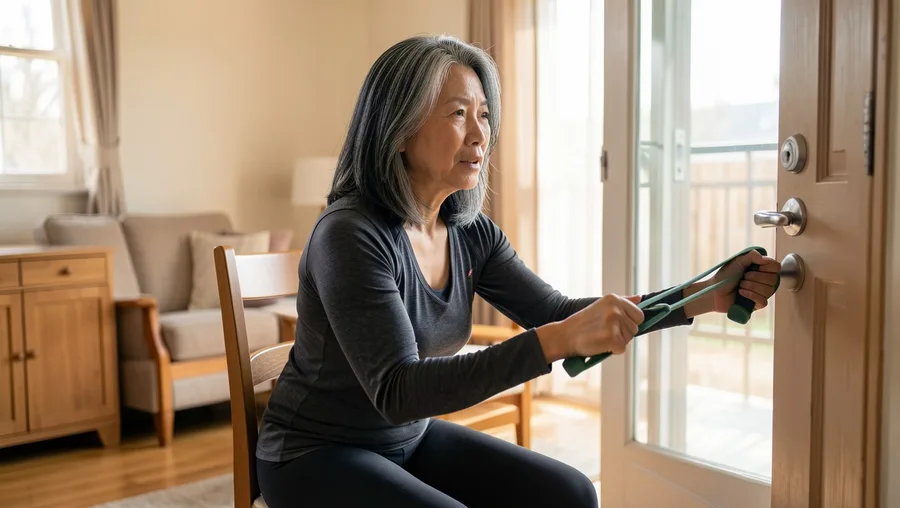
Modern life pulls your upper body forward continuously.
Reading, driving, and sitting at desks accelerate age-related hyperkyphosis—the rounding of the upper back that restricts chest expansion and pulls the shoulder blades out of alignment.
Rowing movements pull your entire posture back into balance.
Dermatologists and physical therapists alike emphasize that upright posture instantly changes how young and athletic you appear, but the real benefit is biomechanical. Strengthening the mid-trapezius and rhomboids creates space in the shoulder joint, taking pressure off the rotator cuff.
Anchor a medium-resistance band around a door hinge or heavy table leg. Sit or stand tall, grab the handles with palms facing inward, and pull your elbows straight back past your ribs while actively squeezing your shoulder blades together.
💡 Tip: Pause for two full seconds at the back of every rep to maximize motor unit recruitment in the postural muscles of your upper back.
💡 PRO TIP
Keep Shoulders Down Away From Your Ears
When pulling the band, consciously push your shoulders down toward your back pockets. Shrugging upward transfers the workload into your upper traps and neck muscles, which leads to tension headaches.
6. The Suitcase Carry: Total-Core Balance and Grip Endurance
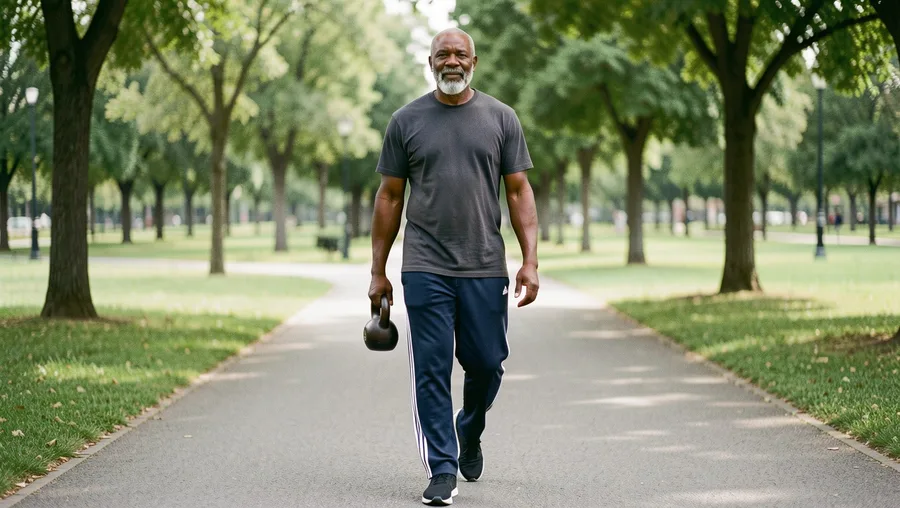
Traditional abdominal crunches do very little for daily functional stability.
Your core muscles are designed to resist movement rather than create it—acting as a rigid column that transfers power safely between your upper and lower body.
The suitcase carry builds exceptional anti-lateral flexion strength.
By carrying a dumbbell or kettlebell in just one hand, your body is forced to fire the oblique muscles and deep spinal stabilizers on the opposite side to keep you from tilting sideways. This movement directly simulates carrying a heavy bag of soil, groceries, or luggage.
Pick up a moderate weight in one hand, stand completely tall with your shoulders even, and walk forward in a straight line for 40 to 50 paces. Keep your gaze straight ahead and avoid leaning toward or away from the weight.
Why Grip Strength & Carries Predict Longevity
Key metrics from adult strength research
Where Fitness Experts Agree: Frequency, Volume, and Rest After 60
More is not better when it comes to strength training after 60.
When you push your muscles through resistance workouts, you create micro-tears in the muscle fibers. The actual repair and growth happen during rest, driven by healthy sleep and adequate daily protein intake.
Anabolic resistance means older muscles require slightly more recovery time between intense sessions.
Exercising every single day prevents your nervous system and joint tissues from fully recovering. Trainers consistently agree that two to three full-body strength sessions per week yield the maximum strength gains while keeping joint inflammation low.
Sample Weekly Functional Strength Schedule
📈 Your First 4 Weeks: Progression Roadmap
Week 1: Form & Bodyweight
Perform 1 set of 8 reps per exercise using bodyweight or light bands to master movement pathways.
Week 2: Adding Volume
Increase volume to 2 sets of 8–10 reps while keeping a strict 48-hour rest window between days.
Week 3: Light External Load
Introduce light dumbbells or stronger resistance bands while leaving 2 reps in reserve on every set.
Week 4: Baseline Consolidation
Execute 3 full weekly sessions smoothly, assessing improved stability before increasing any weight.
Self-Assessment: How to Know You Are Ready (and When to Scale Back)
Listening to your body is a skill that requires active attention.
You need to distinguish clearly between localized muscular fatigue—the warm burn during a set or mild soreness two days later—and sharp joint pain.
A sharp, shooting pain inside a joint during a movement is a hard red light.
If you feel sharp discomfort in your knee during a squat or in your shoulder during a push-up, stop that specific exercise immediately. Regress to a higher box, a higher incline, or a reduced range of motion until the movement is entirely pain-free.
3-Step Safety Check Before Every Session
Frequently Asked Questions
Is 60 too late to start lifting weights if I have never strength trained before?
It is never too late to start. Research on adults beginning resistance training in their seventies and eighties shows rapid neuromuscular adaptations, with noticeable improvements in balance and strength occurring within the first four weeks of consistent practice.
Should I use resistance bands, machines, or free weights?
Start with bodyweight exercises and elastic resistance bands to master the movement patterns without straining your joints. Once your form is locked in and comfortable, transitioning to light dumbbells or cable machines offers consistent loading.
How do I know if my joint pain is normal soreness or an injury warning?
Muscular soreness typically manifests as a dull, broad ache in the middle of a muscle belly 24 to 48 hours post-workout. Acute, sharp, or throbbing pain located directly inside a joint during or immediately after an exercise indicates you should scale back.
How long does it take to see improvements in balance and everyday strength?
Neural adaptations happen fast—most people feel more steady on their feet and notice easier stair climbing within 2 to 3 weeks. Significant structural muscle building and improvements in bone density typically require 8 to 12 weeks of regular effort.
Can I do these 6 exercises if I have mild arthritis in my knees or hips?
Yes, provided you stay within a pain-free range of motion. Strengthening the surrounding glutes, quadriceps, and hamstrings helps stabilize arthritic joints and reduces overall daily friction and stiffness.
Start With This One Movement Today
Rebuilding functional independence does not require a gym membership or complicated workout programs.
If you feel overwhelmed by all six movements, pick just one to start today: the box squat. Practice ten controlled sit-to-stands from a dining room chair twice a day to build a habit.
Mastering that single movement pattern restores confidence in your lower body and sets the baseline for every other exercise on this list.

Meet Edward Green, the founder of GolfingGoal and a seasoned expert in golf. With years of experience on the course and a passion for the sport, Edward has a wealth of knowledge to share. As our Lead Writer, he contributes articles, tutorials, and resources to help readers to improve their skills and reach their full potential on the golf course. Join Our Team!