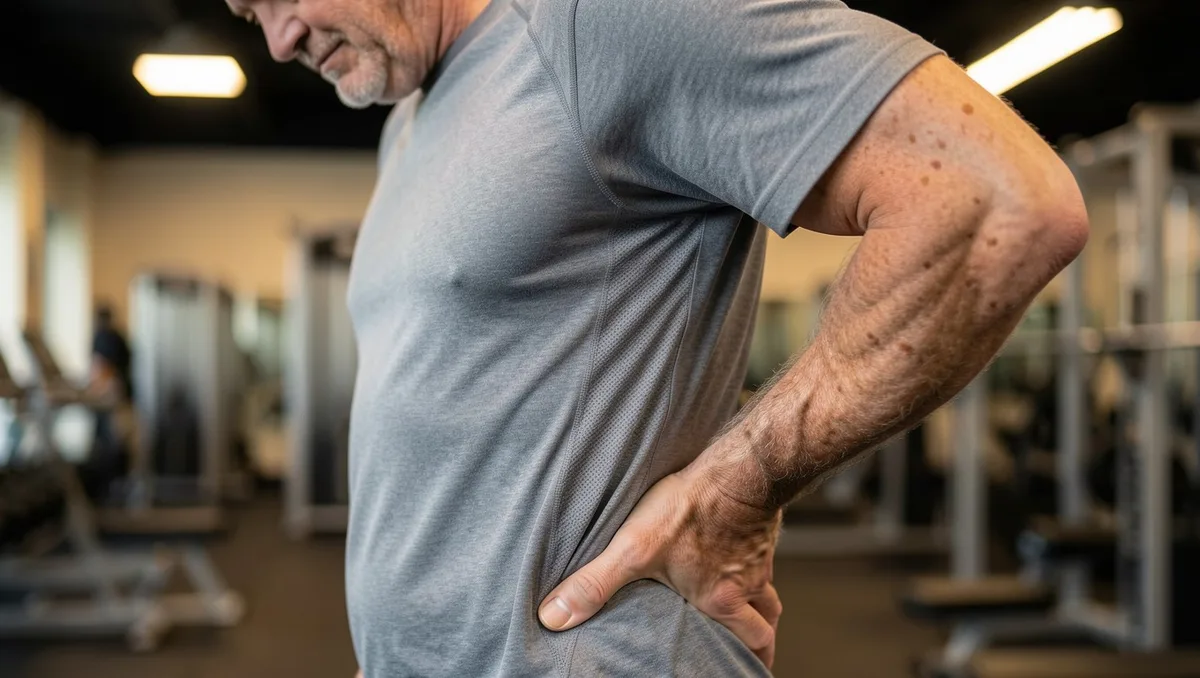
You step off the treadmill after forty-five minutes, feeling accomplished, and head straight over to the shoulder press machine.
You line up the handles, sit upright, and push the weighted bar straight up past the back of your ears, just like you have done for thirty years. Two hours later, a sharp, nagging ache sets deep inside your front shoulder joint, making it painful to pull your coat off the rack.
That persistent ache is not standard muscle fatigue, and you cannot simply stretch it away. Physical therapists across orthopedic clinics see this exact scenario every morning.
Staying strong past 55 is non-negotiable for keeping your balance, bone density, and everyday independence. But doing it using workout routines designed for twenty-year-old connective tissue is an express lane to chronic joint inflammation.
Here is the truth: your joint capacity changes as you age, but your strength goals do not have to suffer.
By swapping four high-risk moves for joint-friendly alternatives, you can protect your cartilage, shield your spinal discs, and keep building real muscle safely.
The Hidden Mechanics: How Shear Force Replaces Muscle Tension as We Age

Your joints do not age overnight, but their internal structure quietly alters how they handle mechanical stress.
In your twenties and thirties, soft tissue acts like a fresh elastic band. Tendons stretch smoothly, cartilage cushions heavy impacts effortlessly, and spinal discs remain fully hydrated to absorb direct compression.
Fast forward past 55, and those same tissues undergo structural shifts.
Tendons lose natural collagen elasticity, cartilage thins out, and your spinal discs retain significantly less water. When you place a heavy weight on a joint, your body faces two distinct types of stress: axial load and shear force.
Axial load compresses straight down through the center of a bone or joint, which actually stimulates healthy bone density when controlled.
Shear force, however, sliding or twisting stress applied across a joint angle, becomes remarkably destructive. When flexible connective tissue stiffens, shear force pinches delicate rotator cuff tendons, grinds patellar cartilage, and overloads the outer rings of your spinal discs.
The goal of smart aging strength is simple: eliminate destructive shear vectors while keeping direct, muscle-building tension.
Joint Vulnerability Index After 55
How structural aging changes joint tolerance to mechanical stress
- Axial Compressive Load: Safe when controlled; builds bone mineral density in hips and spine.
- Rotational Torque on Fixed Joints: Moderate risk; strains stiffening tendons during constrained twisting moves.
- End-Range Rotational Shear: High danger; overloads spinal discs and tears vulnerable meniscus cartilage.
1. Behind-the-Neck Overhead Presses (The Shoulder Impingement Accelerator)
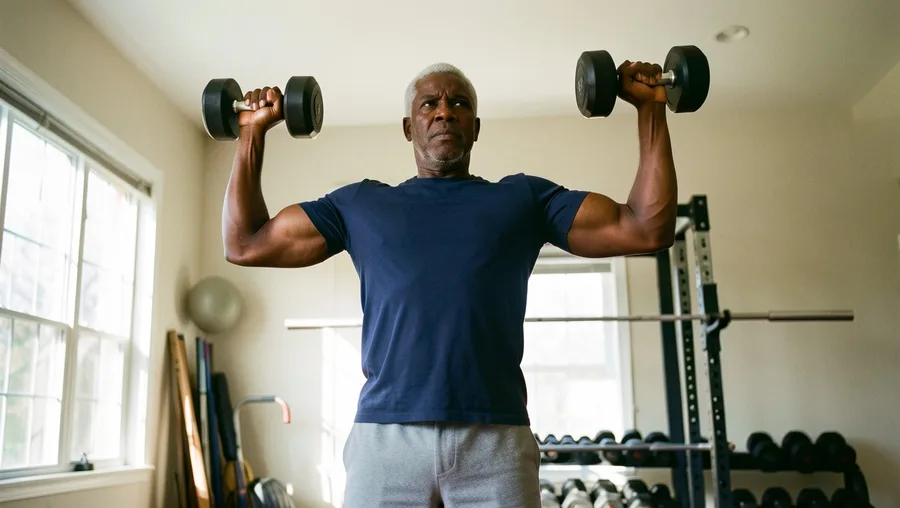
You reach overhead to press the barbell, pulling your elbows far back to clear your head.
That movement forces your upper arm bone into extreme external rotation and horizontal abduction under a heavy load.
In this compromised position, the space inside your shoulder joint narrows dramatically.
Every rep pinches your supraspinatus tendon and subacromial bursa against hard bone, grinding soft tissue until it wears thin and inflames.
Over time, this repetitive pinching develops into full rotator cuff tears or persistent bursitis that keeps you awake at night.
Instead, swap this movement for the Scaption Press using dumbbells or a landmine attachment.
Angle your arms roughly 30 degrees forward of your torso in the natural scapular plane, using a neutral grip where your palms face each other. This subtle alignment shift opens up the shoulder joint, letting you build broad shoulders without damaging the cuff.
💡 Tip: If your elbows pass behind your torso while pressing overhead under weight, you are sacrificing rotator cuff health for mobility you no longer possess.
Behind-the-Neck Press vs. Scaption Press
⚠️ Primary Danger
Rotator cuff impingement
🦴 Joint Vector
Extreme external rotation
✅ Safe Alternative
Neutral-Grip Scaption Press
🎯 Target Muscle
Anterior and lateral deltoids
Biomechanics Key
Pressing 30 degrees forward in the scapular plane preserves shoulder socket clearance.
⚠️ COMMON MISTAKE
Forcing Mobility Under Heavy Weight
Many lifters over 55 try to regain shoulder flexibility by driving heavy bars behind their neck. Weight forces the joint past its safe structural barrier, causing tissue damage rather than flexibility gains.
2. Heavy Seated Leg Extensions (High Patellar Shear Force)
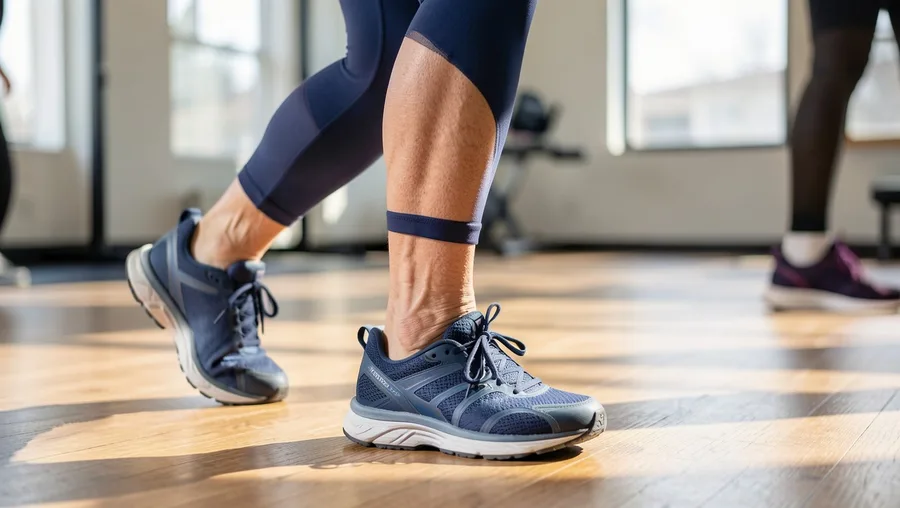
Sitting on the leg extension machine feels comfortable because your back is fully supported while you isolate your quads.
However, pushing against the padded lower roller creates an unnaturally long lever arm focused right on your ankles.
Your quad muscles contract hard, but the rigid pad directs massive anterior shear force straight behind your kneecap.
Because cartilage behind the patella thins after age 50, this intense grinding motion accelerates knee osteoarthritis and causes deep front-knee pain.
In everyday life, your legs never work in complete isolation like this.
Replace this machine move with Terminal Knee Extensions using a resistance band or controlled low Box Step-Ups.
These closed-chain options force your hamstrings and glutes to fire alongside your quads, balancing joint forces and building stable knees that climb stairs pain-free.
Best Joint-Friendly Leg Alternatives
Knee Exercise Safety Spectrum After 55
- Closed-Chain Box Step-Ups — Engages glutes and hamstrings to keep the knee joint stable.
- Leg Press Machine (Medium Depth) — Acceptable with moderate weights if knees stay aligned with toes.
- Heavy Seated Leg Extensions — Generates extreme shearing force directly behind the patella.
3. Traditional Floor Crunches & Sit-Ups (Repetitive Spinal Flexion)
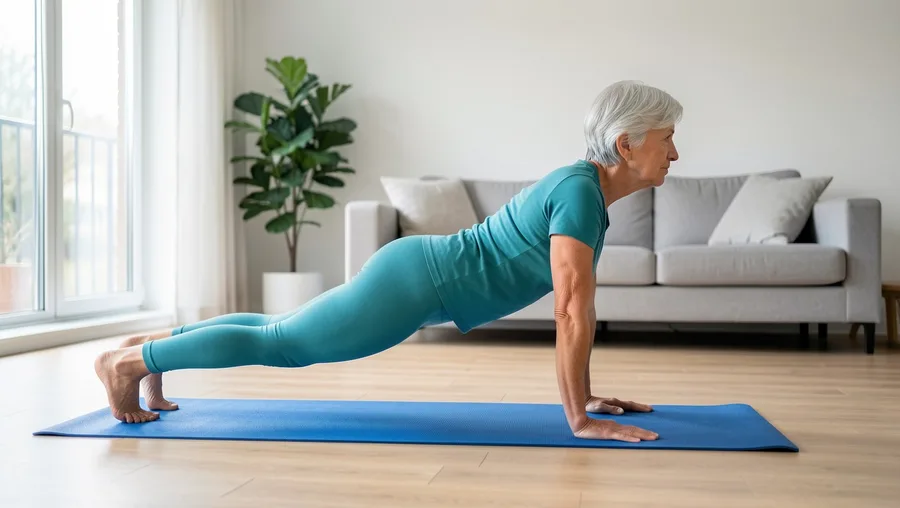
Cranking out fifty sit-ups on the mat seems like the standard route to a strong midsection.
Yet curling your upper body repeatedly forcefully flexes your lower spine under heavy compression.
Your lumbar spine is not built for high-repetition bending.
That repeated flexing pushes the gel-like fluid inside your spinal discs backward toward sensitive nerve roots, raising your risk of disc bulges or painful herniations.
Furthermore, crunches pull your neck and shoulders forward, aggravating the rounded posture many older adults struggle against.
Trade crunches for core exercises that train your midsection to resist movement while keeping a neutral posture.
The McGill Curl-Up, Bird-Dog, and Pallof Press build incredible core stability, carving out a firm midsection without stressing a single lumbar disc.
Floor Crunches vs. Isometric Core Stabilizers
Traditional Floor Crunch
- Repeatedly flexes lumbar spine under compression
- Pushes disc fluid backward toward nerve roots
- Reinforces forward head and rounded shoulder posture
- Creates high neck strain during late repetitions
Bird-Dog / McGill Curl-Up
- Maintains neutral spine stability throughout
- Minimizes spinal disc pressure and shear stress
- Strengthens deep core and upper back posture
- Protects neck alignment while building balance
4. Seated Torso Twist Machines (End-Range Rotational Shear)
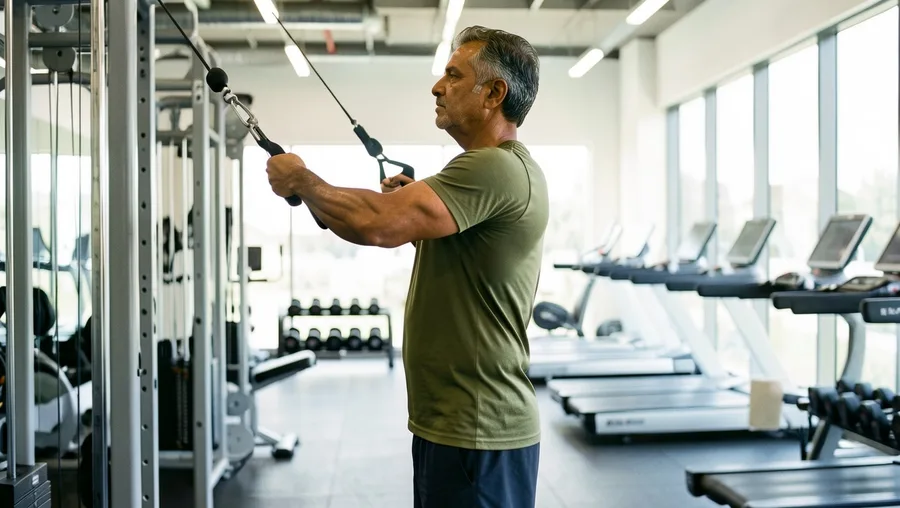
You lock your thighs into the padded pads, grip the handles, and swivel your upper body back and forth against the weight stack.
It feels like a deep stretch across your waistline, but it is deeply damaging.
Because the machine locks your hips in place, that full rotation is forced entirely through your lower back.
Here is the anatomical catch: your lower back vertebrae are designed to rotate only 10 to 15 total degrees across the entire section.
Forcing those joints to twist through a wide range under heavy weight wrings out your intervertebral discs like a wet towel, fraying their outer structural fibers.
Instead, try Standing Cable Woodchops or Standing Anti-Rotation Pallof Holds.
These exercises allow your hips, pelvis, and upper back to pivot together naturally, protecting your lower back while developing real torso rotational power.
Core Rotational Myths vs. Biomechanical Reality
💡 PRO TIP
Move Hips and Shoulders as a Single Unit
Whenever doing rotational exercises, allow your back heel to pivot so your hips turn with your chest. This simple cue transfers twist torque to your hip sockets, sparing your lower back spinal discs.
Where Physical Therapists Agree: The 3 Rules of Safe Post-55 Resistance

Eliminating high-risk exercises does not mean you have to tone down your commitment or settle for weak workouts.
Physical therapists who specialize in healthy aging follow three simple guidelines when designing routines for adults over 55.
First, prioritize closed-kinetic-chain exercises wherever possible.
These are movements where your hands or feet remain planted against a fixed surface, such as push-ups, squats, or step-ups. Grounded movements trigger surrounding stabilizing muscles, distributing weight evenly across multiple joints instead of overloading a single spot.
Second, work in natural anatomical sightlines.
Favor presses and rows that move in the scapular plane rather than rigid 90-degree side angles that force joints into pinched positions.
Finally, prioritize slow movement control over heavy weights.
Emphasize a controlled 3-second lowering phase on every repetition. This builds durable tendons and triggers muscle growth without needing massive weights that stress your joints.
🔄 3-Step Exercise Transition Strategy
1. Audit Your Routine
Identify isolated machine moves that cause front-shoulder pinching, deep kneecap grinding, or lower back stiffness.
2. Substitute Functional Moves
Swap high-shear isolation machines for grounded closed-chain options like box step-ups and landmine presses.
3. Refine Tempo & Tension
Slow down your lowering phase to 3 seconds per rep to strengthen tendons without overloading joints.
The 5-Second Self-Check: Is an Exercise Building You Up or Wearing You Down?

How do you know if a new exercise is safe for your body without hiring a personal coach?
Use the simple Pinch versus Burn rule during every single set.
Muscle burn is a deep, warm ache inside the middle of a muscle belly that vanishes within a minute of finishing your set. That is healthy fatigue.
A joint pinch is a sharp, catching, or cold sensation right inside a joint or tendon. If you feel a pinch, stop the movement immediately.
Additionally, keep track of how your body feels twenty-four hours post-workout.
Generalized muscle soreness is normal, but waking up with stiff, throbbing joints means the exercise placed too much shear stress on your connective tissue.
Listen to those early warning signs, adapt your movement angles promptly, and prioritize your long-term mobility.
Post-Workout Joint Audit
Frequently Asked Questions
Should I stop lifting weights entirely if I have osteoarthritis?
No, stopping strength work accelerates muscle loss and worsens joint pain. Instead, modify your exercise angles, keep your spine neutral, and use controlled resistance bands or weights within a comfortable, pain-free range of motion.
Are squats safe after 55, or do they damage the knees?
Squats are safe and vital for everyday mobility when performed correctly. Focus on box squats to a comfortable chair height, keeping your chest lifted and making sure your knees track directly in line with your toes.
What is the best cardio alternative if running hurts my hips?
Low-impact options like incline treadmill walking, rowing machines, or stationary cycling offer excellent cardiovascular workouts without sending jarring impact forces through your hip sockets and lower spine.
How often should adults over 55 do resistance training?
Target two to three total-body resistance sessions per week. Give yourself at least 48 hours of recovery between workouts so aging tendons and ligaments have enough time to repair and adapt.
Make These 4 Swaps Your New Workout Foundation
Stepping away from outdated gym moves is not a compromise—it is a smart upgrade for lifelong strength.
Pick just one unsafe exercise from this list today and swap it for its joint-friendly alternative during your next workout. Your knees, shoulders, and lower back will thank you twenty years from now.

Meet Edward Green, the founder of GolfingGoal and a seasoned expert in golf. With years of experience on the course and a passion for the sport, Edward has a wealth of knowledge to share. As our Lead Writer, he contributes articles, tutorials, and resources to help readers to improve their skills and reach their full potential on the golf course. Join Our Team!